Settings summary
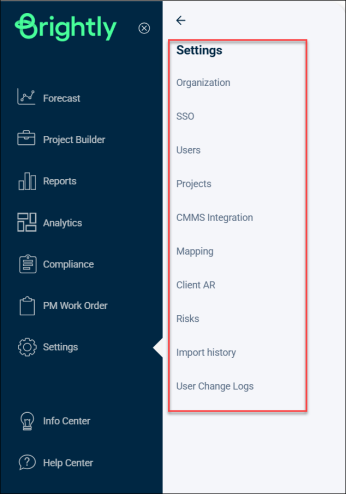
This section allows you to configure your account settings. You can add, edit, and update information about your organization here. You can configure settings like adding or deleting a user, changing passwords, viewing import details, etc. The following are the subsections of this section:
-
Organization
-
SSO
-
Users
-
Projects
-
CMMS Integration
-
Mapping
-
Import history
Organization
This is the first subsection of the Settings section. You can view the details of your organization here and make changes as required.
-
Click on Organization to view the details about your organization categorized into different segments.
-
There’s an Edit button on the top right to update and/or change information.

-
The segments here are:
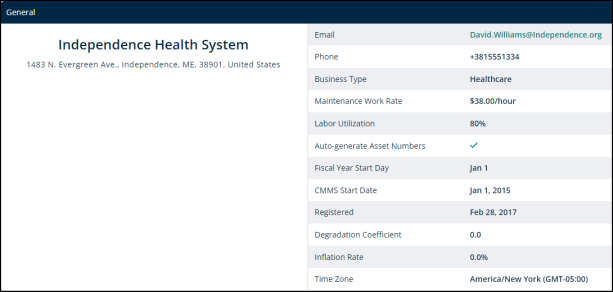
General
You can see general information about the facility here. This entails:
-
Email
-
Phone
-
Business Type
-
Maintenance Work Type
-
Labor Utilization
-
Auto-generate Asset Numbers
-
Fiscal Year Start Day
-
CMMS Start Date
-
Registered
-
Degradation Coefficient
-
Inflation Rate
-
Time Zone
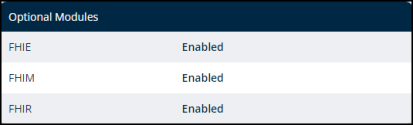
Optional Modules
You can enable or disable optional health index modules for this facility. The modules are:
-
FHIE
-
FHIM
-
FHIR
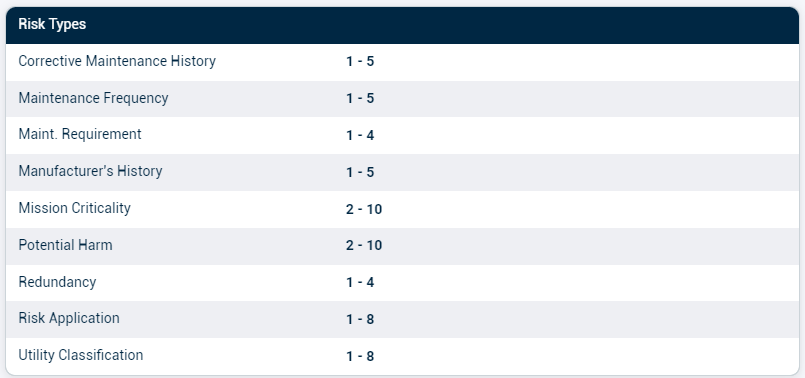
Risk Types
The following are the risk types and their ranges:
-
Utility Classification: 1-8
-
Risk Application: 1-8
-
Maint. Requirement: 1-4
-
Redundancy: 1-4
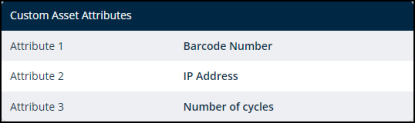
Custom Asset Attributes
-
You can add custom attributes here. For example, barcode, IP address etc.
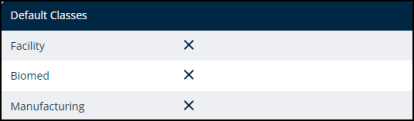
Default Classes
Your organization classifies as:
-
Facility
-
Biomed
-
Manufacturing
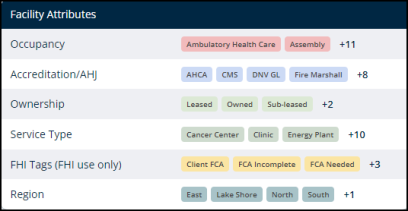
Facility Attributes
-
Occupancy
-
Accreditation/AHJ
-
Ownership
-
Service Type
-
FHI Tags (FHI use only)
-
Region
SSO
The SSO (Single Sign-On) Setup page allows administrators to configure a new connection for your organization. This setup enables users to securely authenticate using an external identity provider (IDP). For more details, refer to Adding an SSO connection.
Users
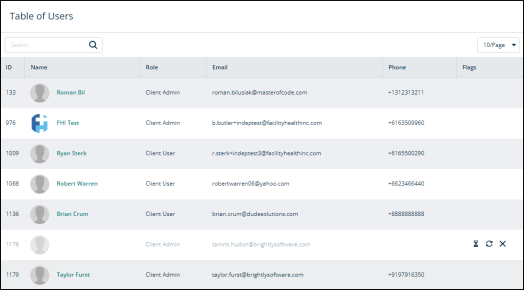
This section details all the users of the account. This allows for multiple handlers of an account performing different roles.
-
Click on Users and you’ll see Table of Users.
-
You can see information in the following categories:
-
ID: The ID number assigned to the user.
-
Name: Name of the user.
-
Role: The role of the user in the account. For example, client admin.
-
Email: The email address of the user.
-
Phone: The phone number of the user.
-
Flags: Country or state the user belongs to.
-
-
The search bar allows searching for users by their names.
-
There are two buttons on the right side.
-
Export Users Report
-
+ Add User

-
-
Click on any user's name in the Name column and it’ll direct you to Settings > My Profile > User Name.

Projects
Projects allow you to tie multiple work orders to a single project. This makes it easier to keep track of work orders, work performed on each project, and the cost of work done.
-
Click on Projects from the Settings drop-down to see project related information in different sections.
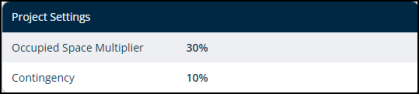
Project Settings
Here, you’ll find:
-
Occupied Space Multiplier
-
Contingency
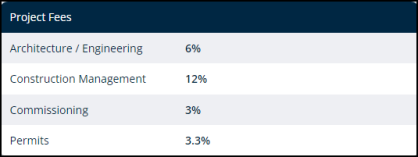
Project Fees
This is the percentage applied to the asset cost and asset project cost in case of the additional charges for:
-
Architecture/Engineering
-
Construction Management
-
Commissioning
-
Permits
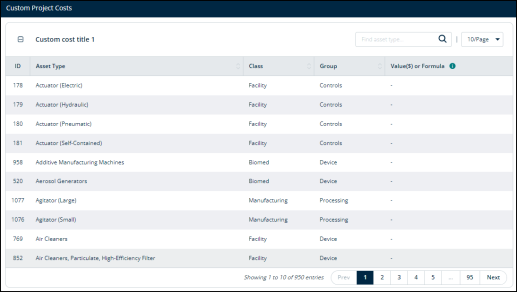
Custom Project Costs
You can see Custom cost title here.

-
Click on the + icon to reveal following categories:
-
ID
-
Asset Type
-
Class
-
Group
-
Value($) or Formula
-
Buttons on top
On the Projects main page, you can see three buttons on top:
-
Import Data: Click on this button to upload data from your device into your Origin account.
-
Export Data: Click on this button to download the project data to your device.
-
Edit: Click Edit to update information about the project. Like its contingency percentage or the project fees.

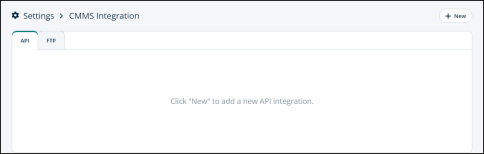
CMMS Integration
With the CMMS integration, you can add multiple APIs and FTPs to your account. This is to transfer the data you have on other platforms and devices to your Origin account and handle it all in one place.
-
Click on CMMS Integration from the Settings drop-down.
-
You’ll see two tabs here.
-
API: Switch to this tab to add an API.
-
FTP: Use this tab to add an FTP.
-
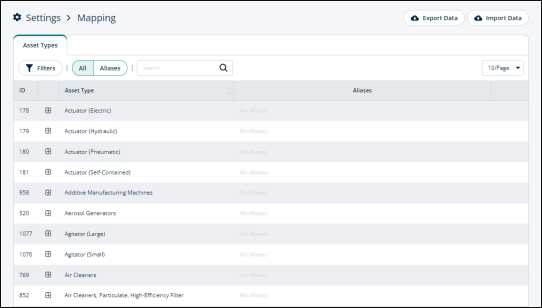
Mapping
-
Click on Mapping from the Settings drop-down to see Asset Types.
-
The Filters button allows you to view asset types based on selected filters.
-
You can use the search box to search for an asset type.
-
The two tabs here are:
-
All
-
Aliases
-
-
You can import and export data by using the two buttons in the top right.
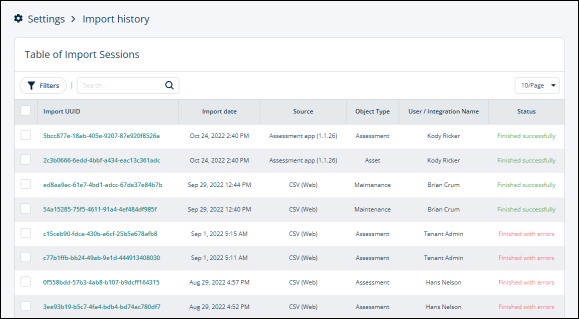
Import history
You can see the import history of your account here.
-
Click on Import history to see the Table of Import Sessions.
-
There’s a check-box next to each entry to select it and export.
-
You can also check the box next to Export all items button to export all entries in one go.

-
The categories are:
-
Import UUID: The unique ID assigned to the import entry.
-
Import date: The date on which the import took place or was conducted.
-
Source: The data can be imported via CSV file.
-
Object Type: You can classify the imported object as an assessment report, an asset, or other forms of data.
-
User/Integration Name: The person/user who imported the data.
-
Status: Completion status of the import.
-
-
The Filters button allows you to specify the import entry you’re looking for.
-
The search box allows you to search for an import entry by typing in the information regarding the object type and source.
Import history details
-
Click on any Import UUID and it’ll direct you to Settings > Import history > Import of (Date).

